Now anyone who knows me knows I typically do not recommend spray foams for wall and roof insulation if other methods can be had. This is an example of a good application however. While other methods could be had to foam the rafters in the great room and dining room, they would have ultimately taken a lot more time and work and been a cost wash anyway. The foam most likely will have sealed it all up better anyway. That is what lead me to decide to foam the rafters. I went with an open cell foam instead of closed cell. I had the depth in the 14" ijoist to obtain the r value I was after. Code allows vaults to be below the r value of 49 code min. However I still wanted the full value. The foam in the vault still gets be around an r50 and an r49 in the dining room. I went with the open cell in the 2x6 walls as well since the surface area was fairly small, they had the foam rig on site, and they barely charged me anything for it. Otherwise I would have gone with net and blown fiberglass. It still has 2" of XPS on the exterior. Speaking of...I never got around to taping the foam off. With the snow starting to melt, it was actually leaking down into the house since it was getting behind the foam. I climbed up there and taped it off real good. I used a 3M all weather flashing tape, 4" wide. This stuff is great. It sticks extremely well to foam and about anything. It was also about 25 degrees the day I did it. I also am using it around all of the windows.


Here is the spray foam in the rafters. We still need to get gyp up on the knee wall to the right so they can come back and foam the back side of that wall.
Foam in the clerestory.
Here are the speaker boxes. You can see how the foam fills up around them good and even comes out of the hole with the wire. This will allow me to cut in the speakers later easily without any air leaks in my walls.
This is the box cut into the opposite wall. They foamed the back side of this wall (garage truss wall over the kitchen). Again, you can see how the foam fills every tiny hole.
I went around and foamed all of the electrical boxes in place as well as the wires. The foam later got shaved off flush with the ICF.
Above is a short video of them foaming. I had my phone turned sideways to get a fuller view...guess I didn't think about that when I pulled it from my camera. Just turn your head to watch it!
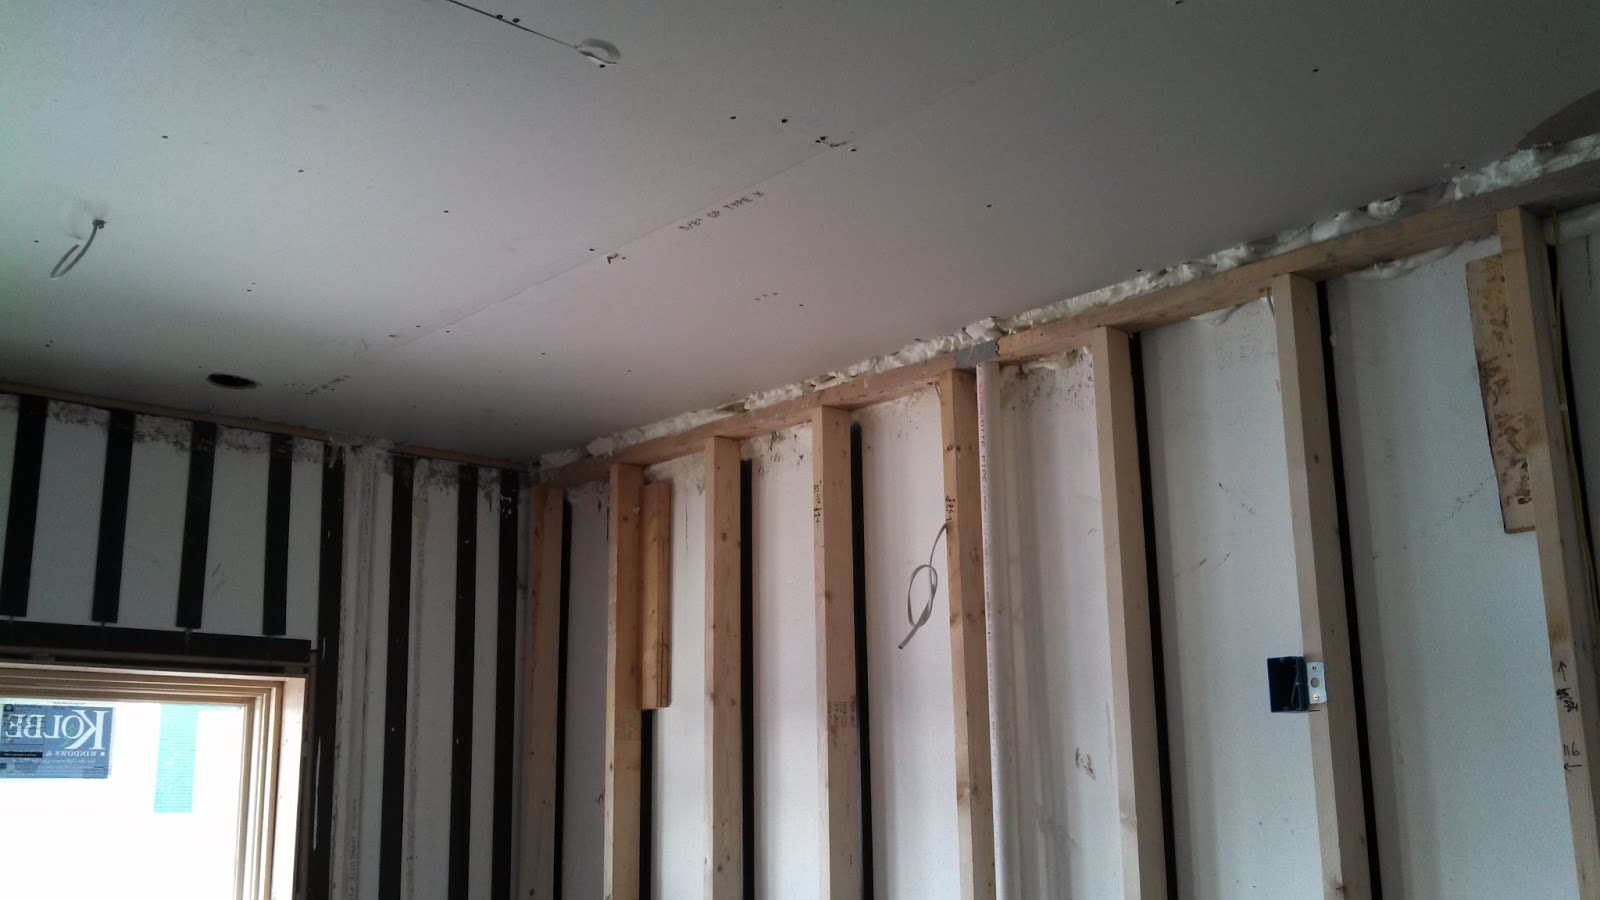
Here is the attic seal. As you can see, I skipped ahead some to after the gyp was hung here in the pictures. They start by installing the attic baffles. They put a small piece of batt in there to hold it in place. They then foam from the ceiling up, over the top plates and over the baffle. This holds it to the roof and prevents any air wind washing the blown insulation.
A view along a top of a wall. They foam all wall connections, electrical boxes, pipes, etc.
I found a small spot they missed. I got filled it with a shot of can foam.
Here is one of the speaker boxes from above. They foamed around the entire box.
This is above the kitchen looking at the back side of the truss wall where they foamed 7" of open cell on that wall. I had them go over the truss ends to create a thermal break at that wall since it does not have the XPS on the cold side like the others do.
Here is the below view of the kitchen. You can see how the foam fills in down around the gaps in the ceiling. This was shaved flush before the drywall was finished.
Foam filling in around electrical penetrations.
Found one they missed. They actually shot it, but it didn't fill all of the sides. Again, I gave it a shot of can foam and problem solved.